
If you need to beat the Sector Guard in Pragmata, the most important thing to know is that this fight is not a normal shooter boss. It is the first encounter that forces you to play the game the way it actually wants to be played: hack first, expose the weak point, then spend your damage during the opening. Once that clicks, the fight gets much simpler.
The Sector Guard is waiting at the end of Sector 1: Solar Power Plant, and it is a mandatory story boss. It is also the first real systems check in the game, because it introduces the rhythm that later bosses keep building on. If you walk in treating it like a pure dodge-and-shoot fight, you will waste ammo and drag the encounter out.
Before you walk through that airlock
Right before the arena, stop thinking about raw damage and think about control. The safest setup is your Grip Gun as the reliable fallback, Shockwave Gun as your main punish weapon, and Stasis Net as the control tool that makes your best openings easier to convert. PlayStation’s combat overview explains why that kind of loadout works in Pragmata: the Primary weapon stays with you, while the stronger tools are limited-use and need to be spent carefully.
If you have a Decode node ready, hold onto it for a real opening. This is not the kind of fight where you want to burn resources the moment the health bar appears. The Sector Guard is much easier when you save your better tools for the moments that actually matter.
How to beat the Sector Guard in Pragmata without wasting ammo
The clean way to beat the Sector Guard in Pragmata is to stop trying to force damage whenever the boss is on screen. The loop is simple: survive the attack pattern, hack the boss, get behind it, hit the weak point, then reset before the next sequence starts. The fight is much stricter than it is random.
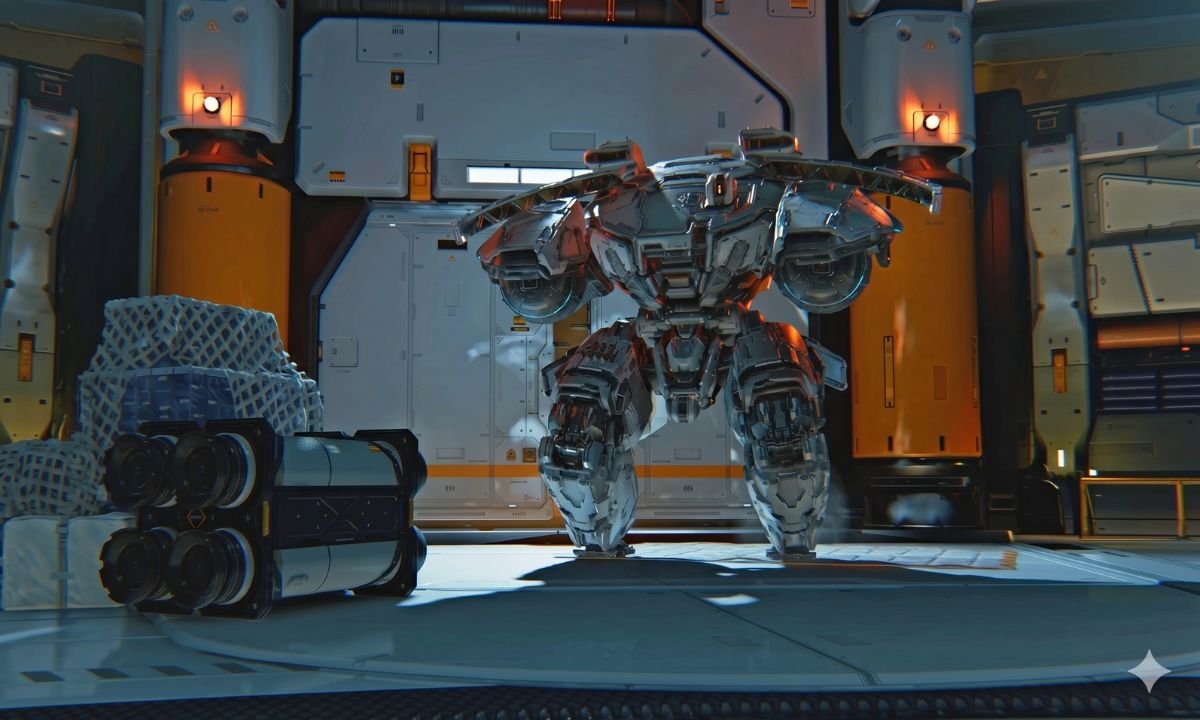
The most important targeting detail is the weak point. It is the large orange tank on its back, not the front of the boss. That is where your real damage comes from. If you keep pumping shots into the face or center mass, the fight drags and gets harder for no reason.
The attacks you need to read early
For most of the fight, the Sector Guard leans on two attacks.
The first is its charge. When it crouches and commits, be ready to move laterally and keep it in view. One of the easiest ways to get clipped is to focus too hard on hacking or aiming and lose track of the boss for a second.
The second is its missile volley. The safest answer here is usually steady movement rather than panic-dodging. Keep sprinting, keep spacing, and only dodge when you genuinely need to. If you overreact to the missiles, you usually ruin your own positioning for the next real opening.
Where the real damage comes from
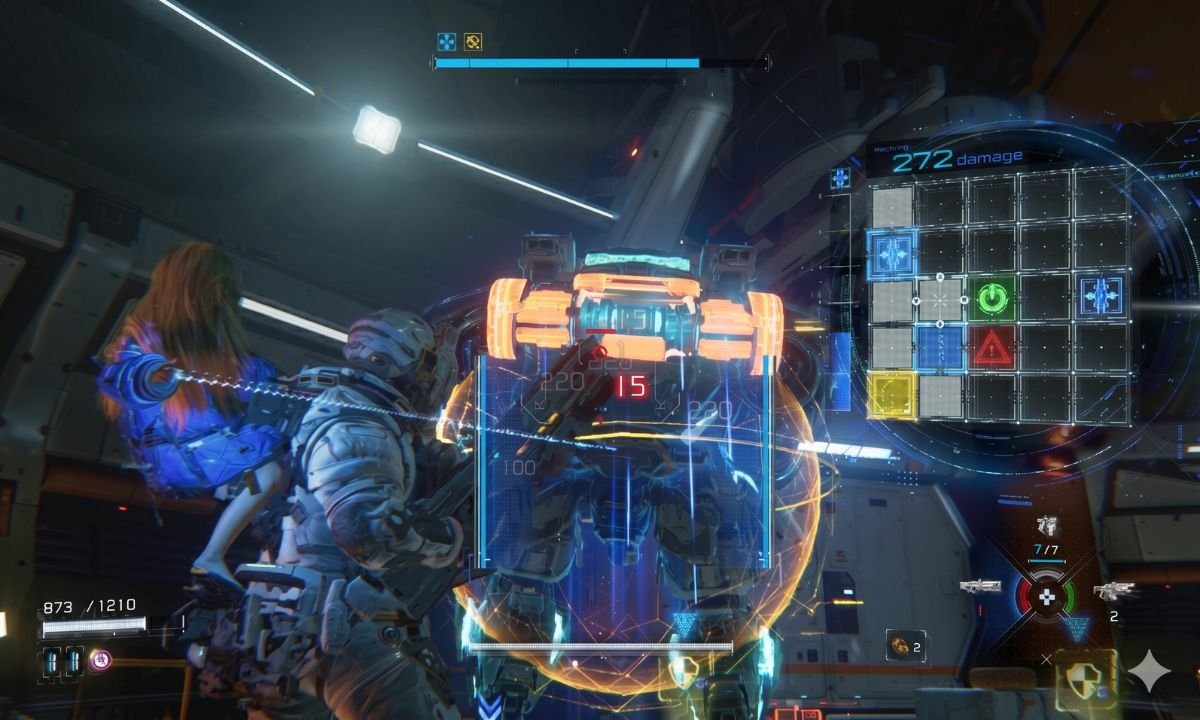
To beat the Sector Guard in Pragmata, you have to respect the hack-and-punish cycle. PlayStation’s preview makes clear that hacking is what compromises armor and exposes weak points, and that is exactly what this boss is teaching. If you are not hacking often enough, you are not really fighting it properly.
This is where Shockwave Gun earns its place. Use it when the boss is properly opened up and you have a clean angle on the back tank. That is the weapon you use to cash in. Your Grip Gun is there for the quieter moments in between, not as the main answer to the whole fight.
If you have Decode, apply it before a clean punish window rather than spending it casually. Good openings are what matter in this fight, not constant low-value fire.
What changes once Overdrive comes online
The fight becomes more aggressive once the Sector Guard drops deeper into its health bar. PC Gamer says this is where the boss starts launching rockets telegraphed by red circles on the ground, and it is also the point where Diana’s Overdrive Protocol enters the loop. Overdrive fills through hacking, then briefly immobilizes the boss, opens weak points, and creates the best damage window in the encounter.
This is the moment where a lot of attempts are won or thrown away. If you trigger Overdrive Protocol from a bad angle and spend the whole stun window trying to get behind the boss, you waste the best opening the fight gives you. If you use it while you are already ready to reach the back tank, you can take a huge chunk off the Sector Guard quickly.
The control tool that makes the fight easier
If you are still struggling to beat the Sector Guard in Pragmata, save Stasis Net for the moments when the fight starts slipping away from you. It is much stronger as a stabilizer than as an early comfort tool. Games.gg specifically recommends not wasting it too early and points out that aiming at the legs can also create stasis traps.
That is a good example of how this fight works in general. It is not asking for a flashy solution. It is asking whether you can use a few strong tools at the right time instead of mashing everything as soon as the pressure rises.
The mistakes that make the boss feel worse than it is
Most failed attempts come down to the same bad habits:
- shooting the front instead of the back tank
- wasting Shockwave Gun ammo outside real openings
- burning Stasis Net too early
- panicking during missile pressure
- treating hacking like a side mechanic instead of the core of the fight
That is why the Sector Guard feels much harder before it clicks. The fight looks chaotic, but the solution is very strict and very repeatable.
What you get for beating the Sector Guard
When you finally beat the Sector Guard in Pragmata, you get your first Shelter License Key. That reward matters because it opens more features at the Shelter, including additional progression systems and upgrades. So this is not just the first boss. It is also the point where the game starts expanding the systems around you.
The cleanest way to finish the fight
If you want the shortest version, this is it: to beat the Sector Guard in Pragmata, hack first, get behind the boss, hit the orange tank, save Shockwave Gun for real punish windows, keep Stasis Net for pressure moments, and use Overdrive Protocol only when you can actually turn it into back damage. Once you stop brute-forcing the front of the boss and start respecting the loop, the fight becomes much more manageable.
