
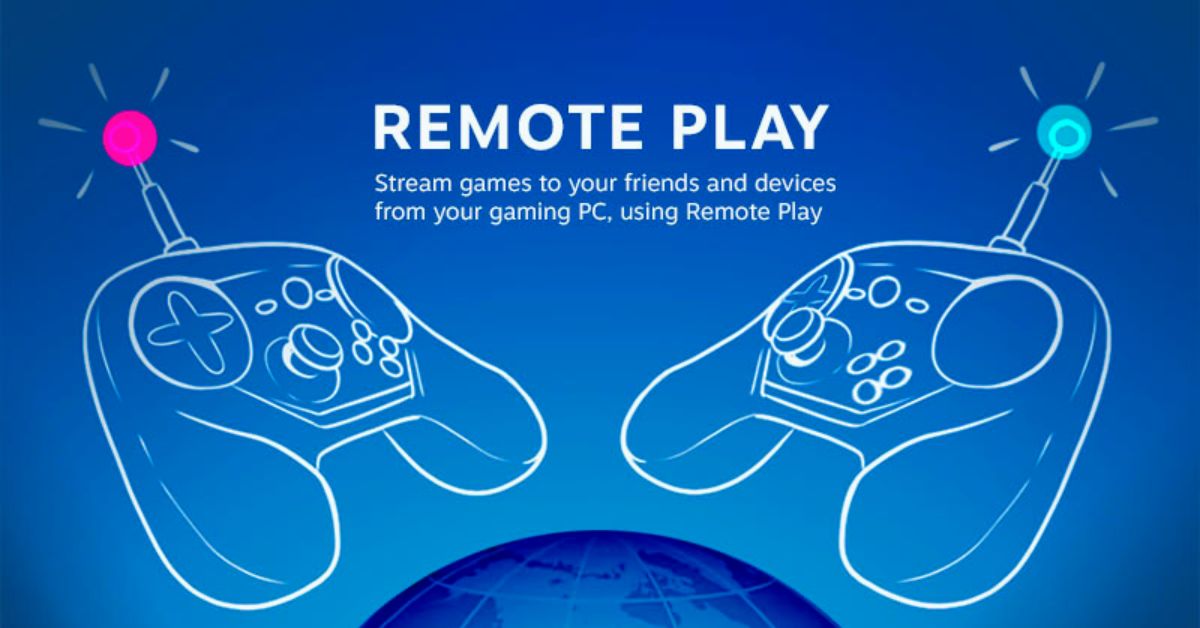
Co-op gaming started with playing games together on the same couch at your best friend’s house. ...
Most games don’t have a lot of players after being out for ten years. That doesn’t ...

From the scripts to the scenes, video game creators work hard to make players feel strong ...

In Diablo 4, players can try a new dungeon challenge called The Artificer’s Pit. This dungeon ...

Hades 2 is a pretty tough game, known for its challenging nature. It’s all about trying ...
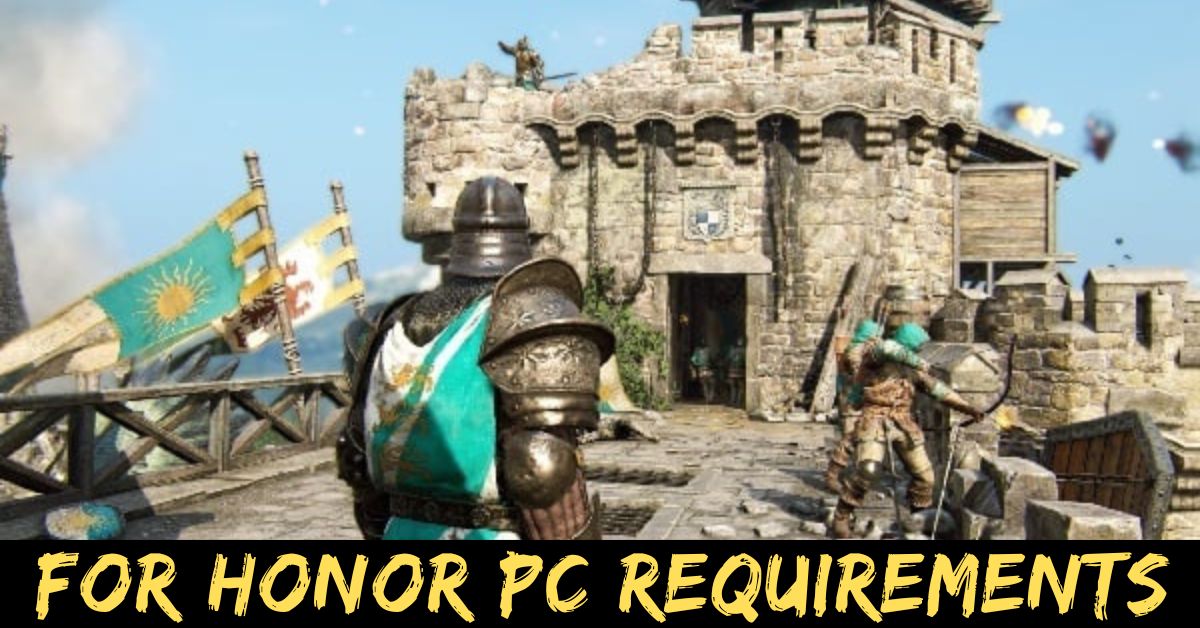
To play For Honor on your computer, it needs to have a graphics card that’s as ...

Welcome to the ultimate guide for the Bunny Garden game. This game is a delightful blend ...

Yu-Gi-Oh! GX: Duel Academy is a card game from 2006 made by Konami for the Gameboy ...

What are the V Rising system requirements? We’re getting close to the full release of V ...

In the game Manor Lords, firewood is super important, just like food. It keeps your people ...

Days after the official release, Stellar Blade has gotten into a controversy where gamers are mad ...

The first Dragon’s Dogma game was a big action game with role-playing elements that aimed to ...

Okami HD is a remastered version of the critically acclaimed adventure game Okami, which was released ...
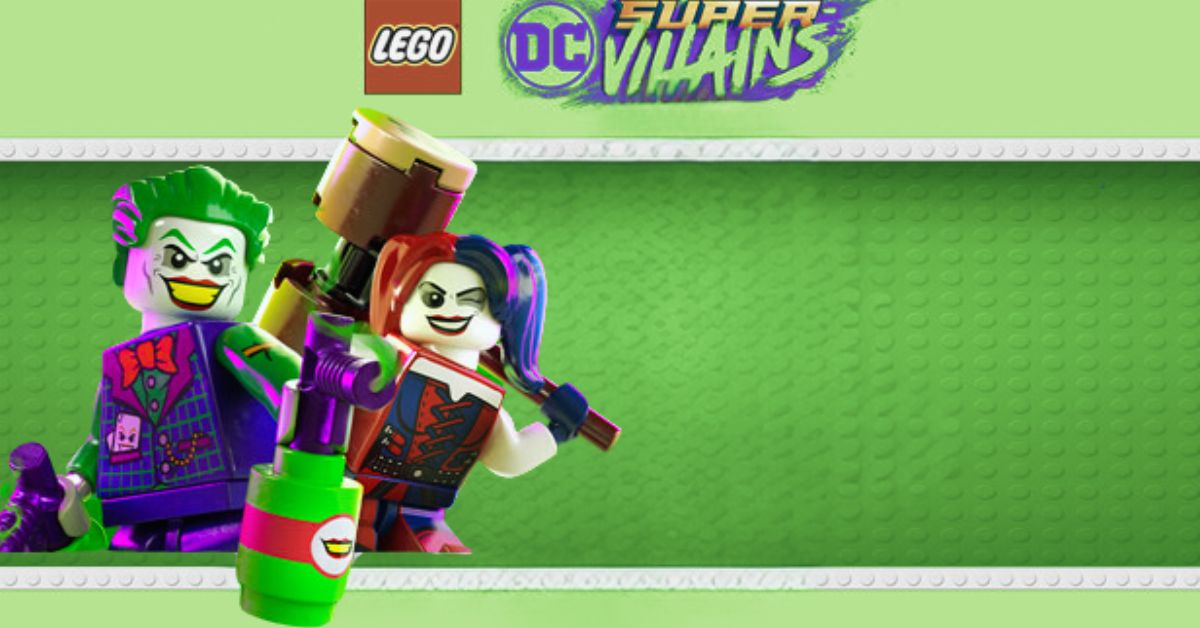
The LEGO games show no signs of slowing down soon; in fact, the franchise is as ...
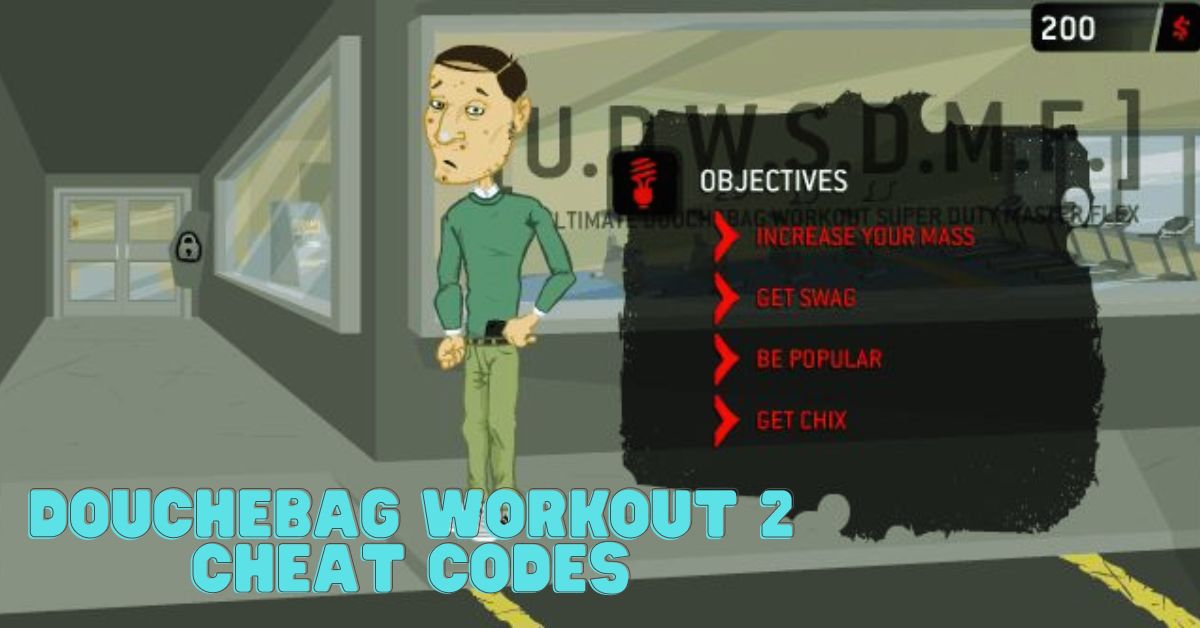
Douchebag Workout 2 is one of the flash games that gained popularity during the pandemic period. ...

“Little Alchemy 2” is a captivating puzzle game that encourages players to explore the art of ...